
I made this precious Winnie the Pooh birthday banner for my daughter’s first birthday. As a baby, she fell in love with a little Pooh Bear toy so of course that had to be the theme of her first birthday party.
When getting ready for the party, I put a lot of thought into the decorations. I wanted the majority of them to be homemade and I wanted them to be reusable- either for a future party or as decor in her future big girl room. With that in mind I decided I needed to make a fabric “Happy Birthday” banner that would last for many years to come and hold up to toddler hands if she wanted to play with it down the line.
FYI this post may contain affiliate links. All that means is that if you purchase something through one of the links, you won’t pay a cent more but I might make a small commission.
Supplies
- Fabric matching whatever theme your party will be (for me this was Winnie the Pooh- I found these novelty fabrics at Joann’s and Michael’s craft stores)
- Coordinating colored fabrics for the back in solids or mild patterns (I used blues and yellows with slight patterns from my fabric stash)
- Solid fabric for letters (I used yellow)
- Coordinating fabric for banner string (I chose a yellow with a mild pattern to complement the yellow letters)
- Thread to match color of letters (my favorite thread brand is Aurifil)
- Spray starch alternative
- Iron
- Cricut FabricGrip cutting mat
- Cricut rotary blade
- Cricut Maker cutting machine

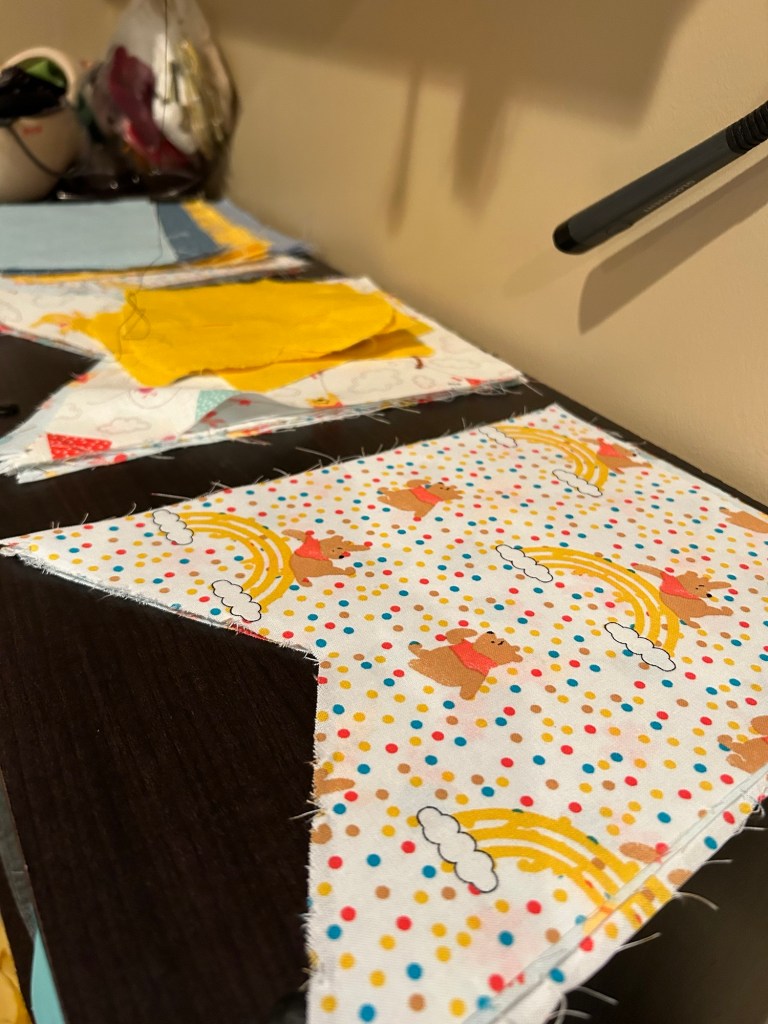
Here are all the fabrics I chose for my banner. I started by simply buying a yard of any Winnie the Pooh fabric I could find at my local craft stores. Then after laying them all out I landed on these three for the front of the pendants because I liked the scale of the patterns and thought they complemented each other nicely.
I consider myself moderately skilled when it comes to sewing but I’ve never been great at reading and following patterns. I also find cutting fabric out to be extremely tedious. Enter- my Cricut Maker. I had never used it to cut fabric before but I knew that was something it could do so I decided to give it a shot with this birthday banner. I quickly designed a banner on Cricut Design Space (my pattern is available for free here) and had the machine get to work cutting. Because I wanted it to be pretty big, only one pendant could be cut at a time so this did take a while but it’s a very mindless process to just switch out the fabric on the cutting mat (26 times).
Of course, if you do not have a Cricut you can still easily make this banner, you’ll just need to find a template to use for the pendants and the letters and cut them out yourself. All of the other instructions would stay the same.

I found a rotary blade works best and recommend investing in that particular tool rather than using a standard fine point blade. It is also very necessary to starch the fabric before placing it on the fabric cutting mat because this ensures it will hold its shape. Make sure to place the fabric on the mat right side down and mirror the design when cutting the letters.
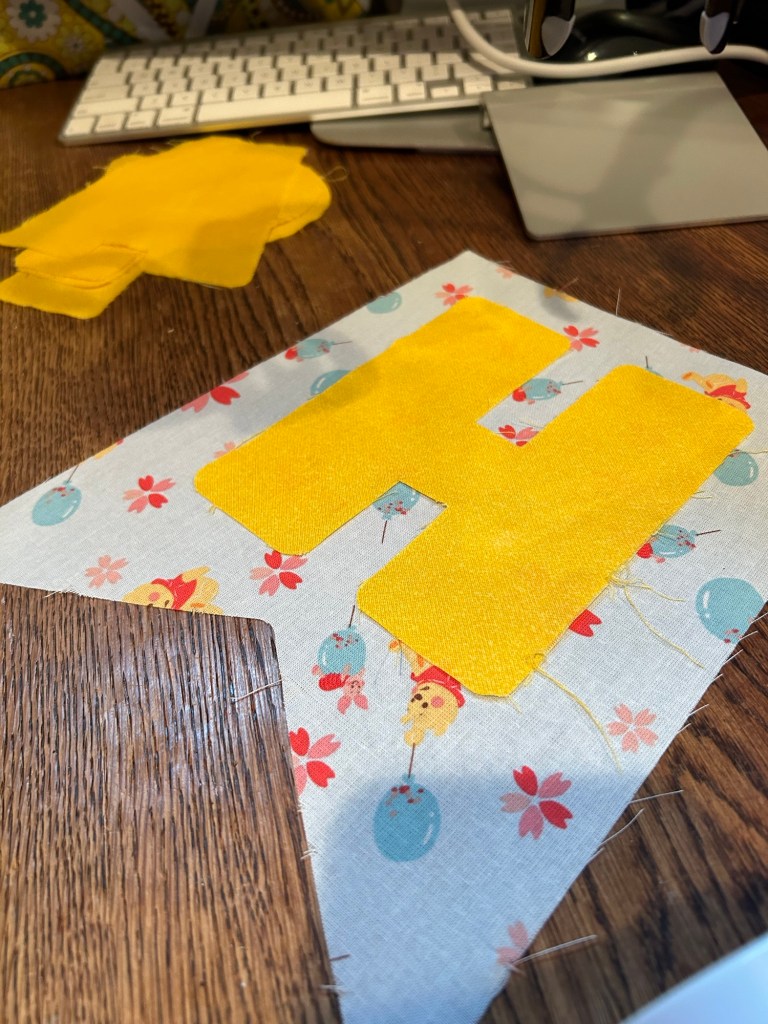
After all the pendants (front and back) and the letters are cut out you’ll want to attach the letters to the front fabric (the themed fabric).
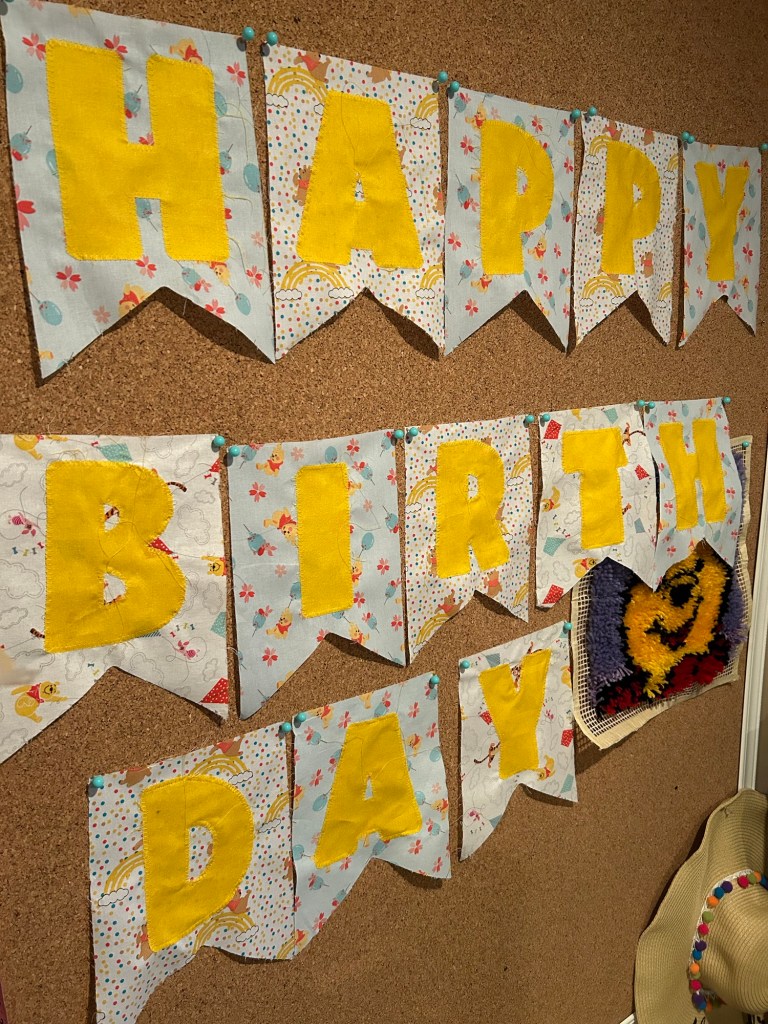
Here’s the front of the banner pendants with all the letters sewn on. I used a blanket stitch (built into my sewing machine) to sew around the letters to attach them and minimize fraying from the raw fabric edges. You could do whatever decorative stitch you’d like or a simple straight stitch but that might lead to some frayed fabric around the edges eventually.


Next you place right sides of the fabric together and sew the front and pack of each pendant together, leaving a small gap open that is big enough for you to flip the pendent right side out. I chose to leave the gap at the top of each pendant because then it gets sewn shut once you attach the top fabric string to finish the banner. It helps if you trim the corners of the fabric before flipping to reduce bulk. You’ll also want something like a pen or other tool to push out the corners so they make nice and crisp lines.
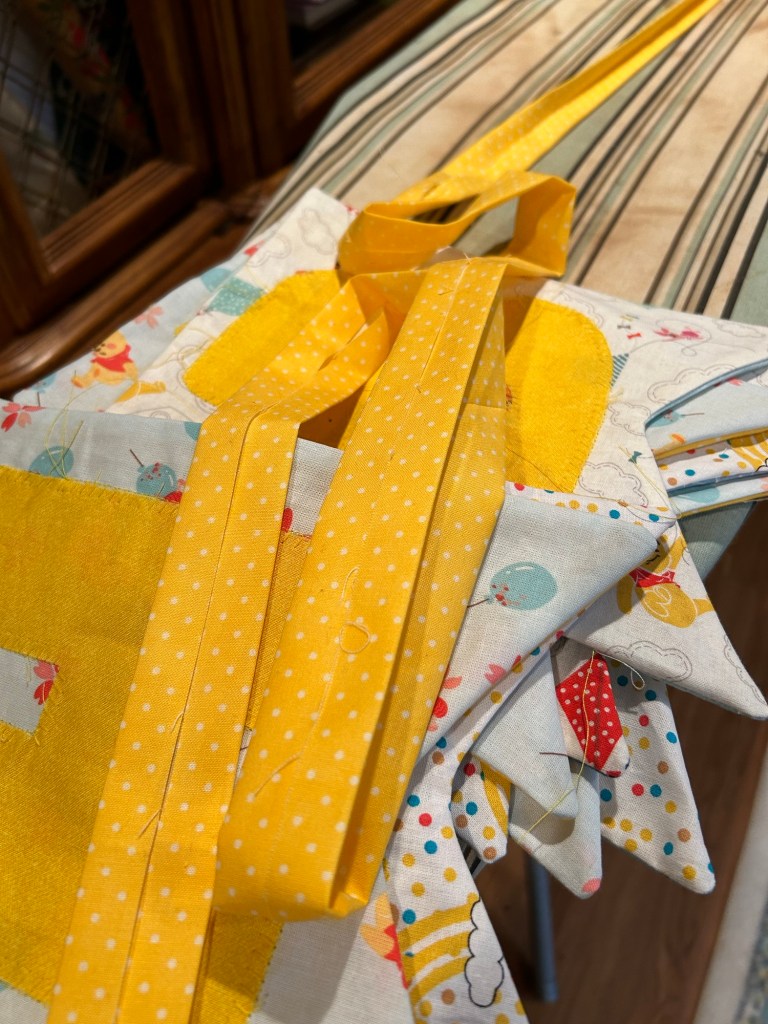
For the banner string I cut fabric 2.5 inches wide like I would for traditional binding, folded both edges in to the middle, ironed, and then folded it in half again. Then you can slide it right on top of the pendants with no raw fabric edges showing. I left one inch of banner string between each letter and several inches on the ends so that it would be easier to hang.
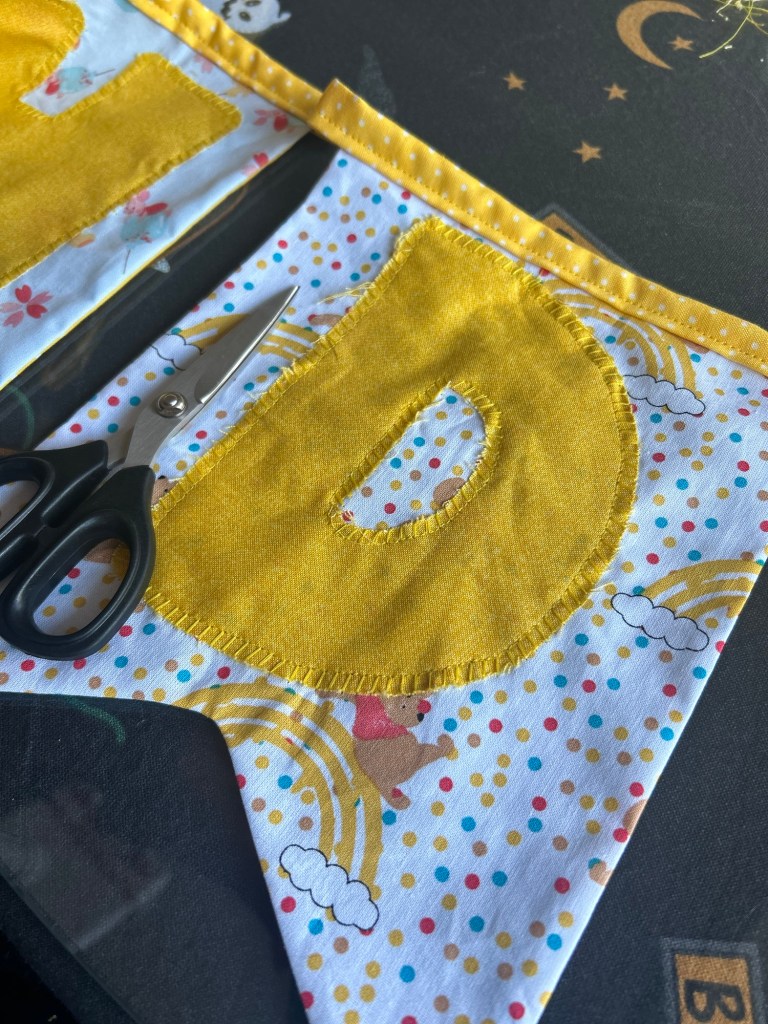
The last step it to clean up any frayed fabric from around the letters by trimming all extra threads off.
And voila! Now you have a fabric Happy Birthday banner customized to your theme that will last years to come!

While it’s not the fastest project in the world and it definitely takes longer than printing out a paper banner, I think it is well worth the effort because you can use it over and over again! And I love customizing decorations so they perfectly match the theme of the party and with this project you can make it any color, fabric, size, etc. that you could possibly want.
If you want to see a video of this banner being made you can check out my reel on IG here.
I made many other decorations for her party and will be sharing all of the details on those projects as well as the themed menu in new blog posts over the next few weeks so make sure to sign up for email updates if you want to see more!

Leave a comment