
I am absolutely in love with these little needlepoint canvases I was able to make with my Cricut cutting machine! My mom taught me to needlepoint and I love seasonal designs, but buying prepainted canvases is so expensive so I figured there had to be a way I could make my own. I am no artist which meant painting them by hand was out of the question but I’ve used my Cricut to draw designs before so I thought I would give it a shot to see if it would work on a needlepoint canvas. And it did! Here’s how I did it:
FYI this post may contain affiliate links. All that means is that if you purchase something through one of the links, you won’t pay a cent more but I might make a small commission.

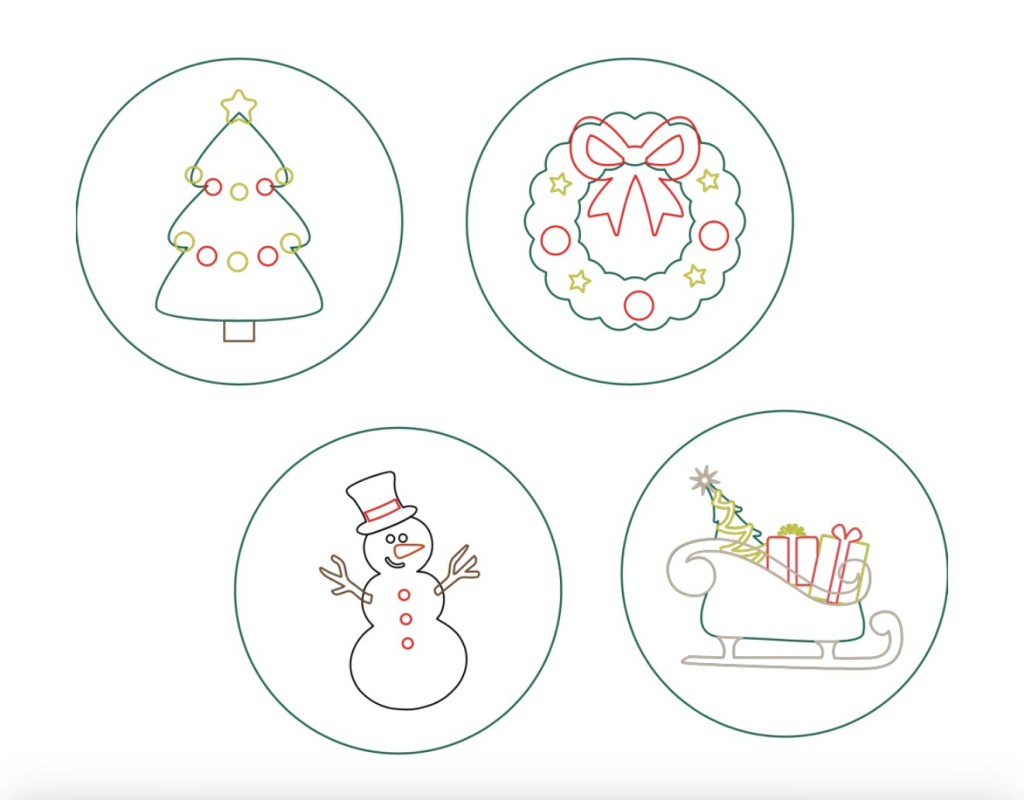
Step 1: Design the Ornaments in Design Space
I started off with making circles 2.69 inches in height and width. This will be the size of the ornament. Then I browsed through the images available with my Design Space subscription until I found images that I liked and I thought would easily translate to simple lines for needlepointing. If you want to use my designs their available for free here.
Step 2: Execute the Design on Cricut Machine
I used Cricut fine point pens to draw the design and 18 mesh blank needlepoint canvas. I put the material settings to Medium Fabrics and it worked perfectly. This part couldn’t be easier, all you have to do is switch out the markers every few minutes when the machine prompts you to insert a new color.

Step 3: Color in the Shapes With Sharpie Markers
This step is not 100% necessary but I felt I would be easier to needlepoint if I had the outlines colored in so I didn’t get confused while in the process of needlepointing. It just makes it easier to tell what color everything should be. I used Sharpies to color it all in and they had no issues with bleeding or smearing.
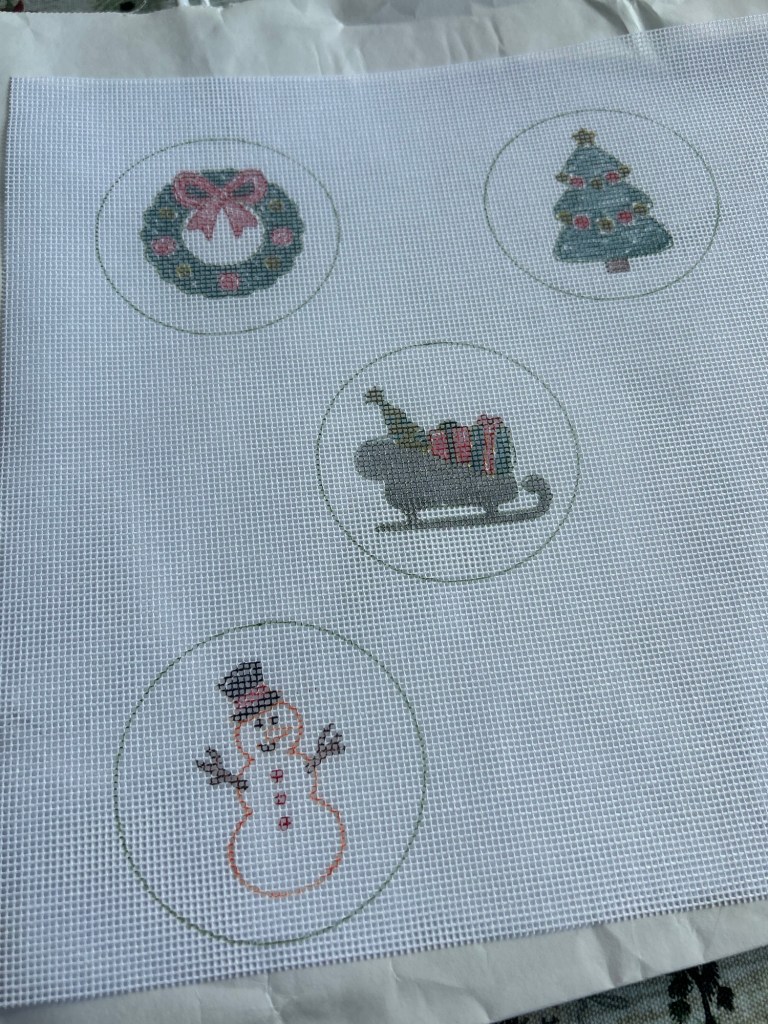
Step 4: Needlepoint
I am by no means a needlepoint expert so I am not going to give a tutorial on the specifics of how to needlepoint- there are plenty of great tutorials online about needlepointing if you need to learn more about this part of the process. My only tip is to use a basket weave stitch as much as possible, and definitely on the background. The reason for this is that it provides the best coverage so you are less likely to see any of the white canvas through the stitches when you use a basket weave. It does use more thread though so be prepared for that. You can see in the photo below what the back looks like when it is stitched this way and how it provides complete coverage. I also have a preference for DMC thread because it is good quality but not crazy expensive. I have this variety pack that includes a lot of good color options.

Step 5: Finish the Ornament
I plan to follow a tutorial from Coco Frank Studio who has several Instagram reels showing how to finish ornaments. You can also always take the finished canvases into a needlepoint store and get them professionally finished but that’s another cost I’d like to save on. Once I finish mine I’ll update this post with more details about how it goes and any tips or tricks I learn along the way.

If you have any questions definitely drop me a comment and I will do my best to clarify this process! It really is an easy project and can save you so much money if you want to make needlepoint projects but don’t want to shell out $$$ on a canvas. I’ll try out a larger scale project later and will let you know how it goes! Happy crafting!

Leave a comment