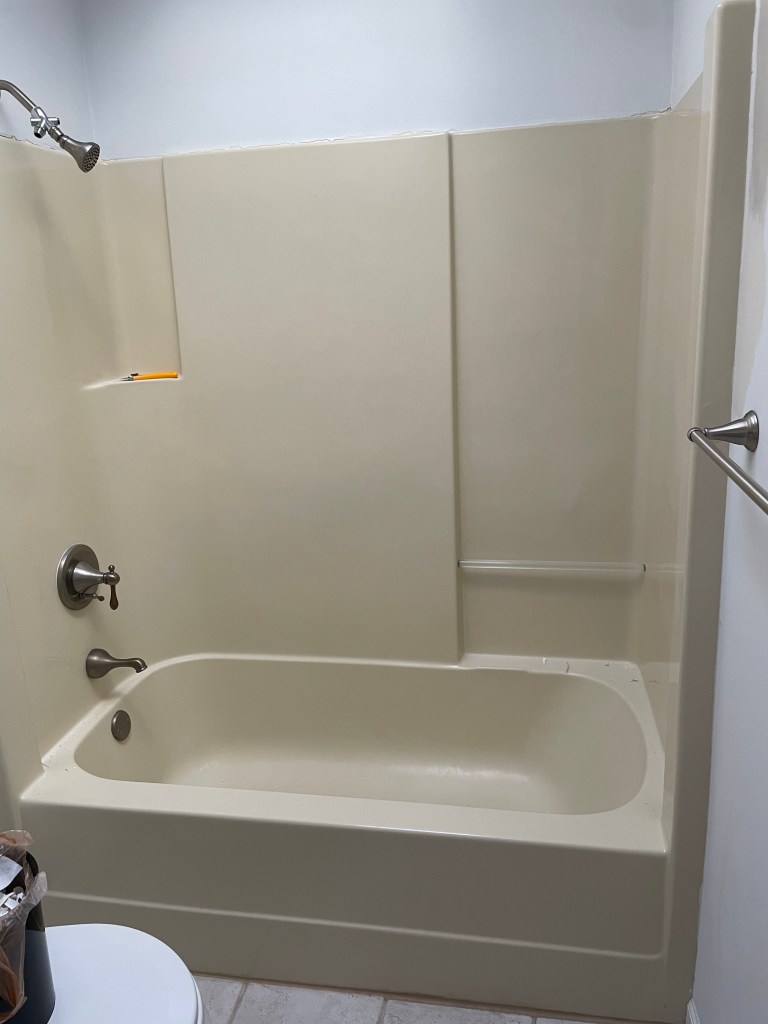
This was one of the biggest projects I have taken on in the last year, and also one of the projects I’m most proud of. Most people thought I was crazy when I said I was going to refinish our dingy brown tub/shower combo in out guest bathroom.
This post may contain affiliate links. All that means is that if you buy something through one of these links, you won’t pay a cent more but I might make a small commission.
My dad went so far as to look up the price of a new tub unit to try and convince me that it would be more practical to just install a brand new unit. But once I got the idea in my head I could not be stopped.
I did as much research as I could before getting started and the big takeaways I learned were this is a very time sensitive project, so I had to make sure to set aside an entire weekend to the refinishing part and have all the prep already done by this point.
It also seemed like they key to getting a good finish was taking my time and not rushing (something I know I struggle with as the longer projects take the more impatient I get).
There seemed to be really only one product that was an option for this project- Tough as Tile. Where you have a choice though is if you use the roll on option or the spray on option. The pro to the roll-on option is you don’t have to worry about drips as much. The pro to the spray option is that the finish is smoother without any brush or roller strokes left behind.
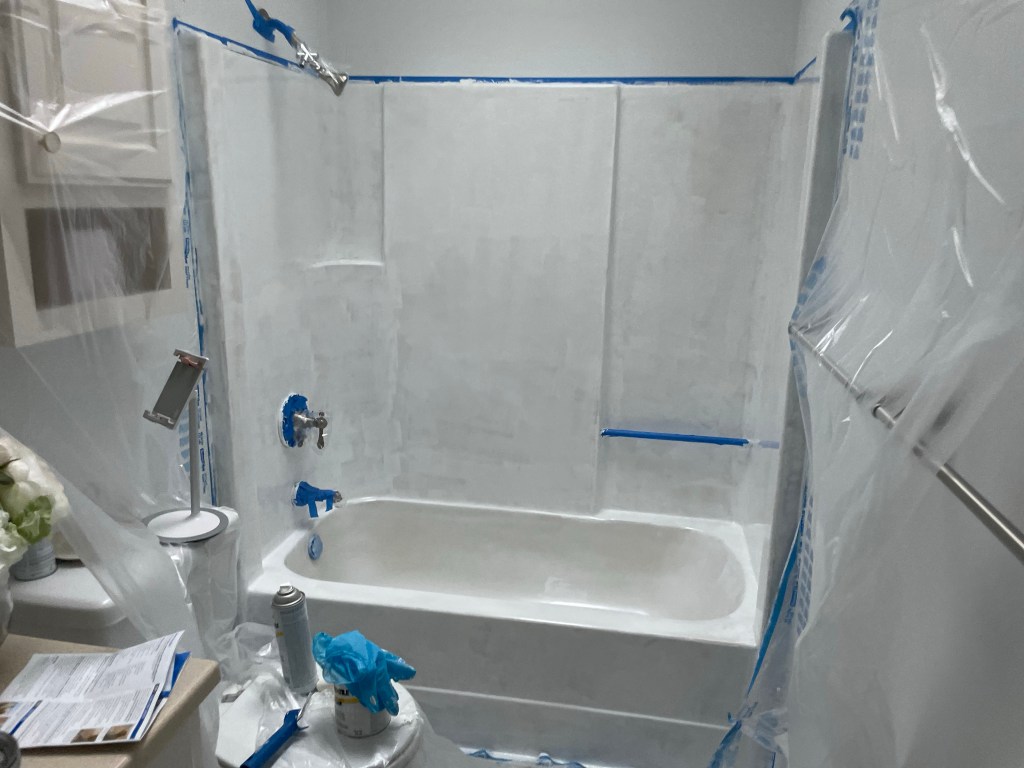
I originally wanted to use the spray option for the whole tub but luckily my dad (who has much more experience with using a sprayer for painting) talked me out of it saying the he thought drips would be too hard to avoid entirely with a spray. What I decided to do was a compromise- roll on for the shower part and the face and top of the the tub and spray for the inside curves of the tub that would just be too hard to get with a roller. I figured this would work great because the square footage of the unit was such that I would need 2 kits anyways (or so I thought… in reality I needed a third and had to run to a Walmart 2 towns over at 10pm in order to get it and finish the project… but more on that later).

When it comes to the details of how to do this project – FOLLOW ALL OF THE INSTRUCTIONS VERY CAREFULLY! Read through them multiple time before starting and do not skip any steps. I’m not going to detail the process here because the instructions do a great job at walking you through the prep and application.
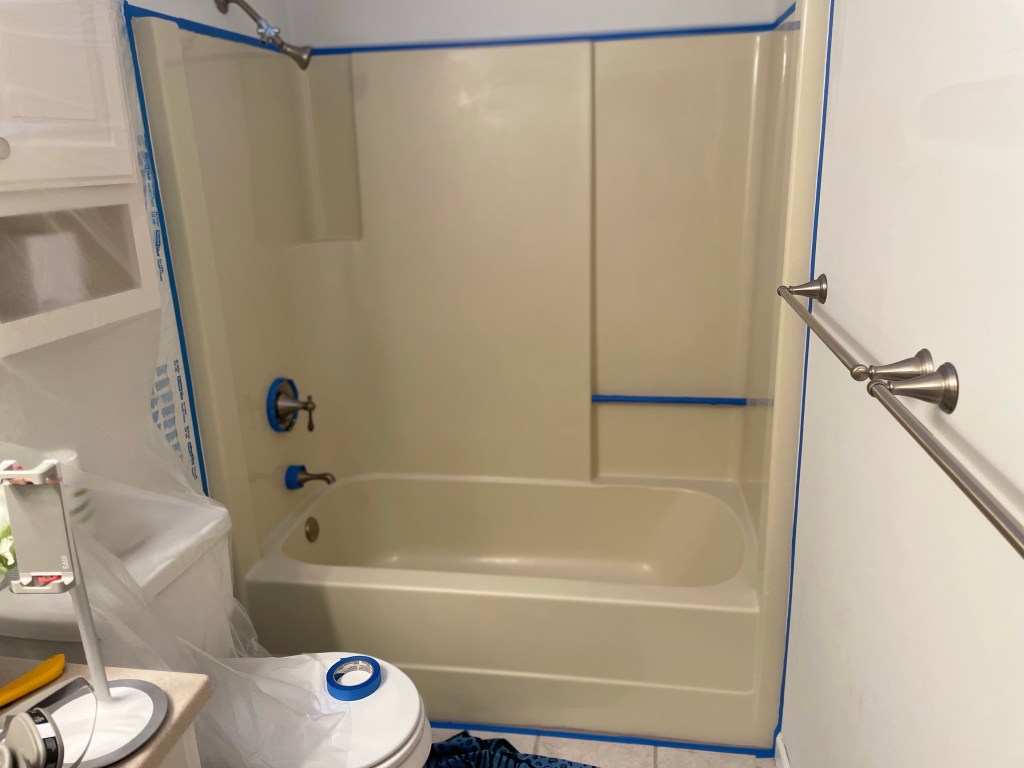
Some of important takeaways though before you decide to take on this project- you will need appropriate safety gear. This means you have to have a respirator. This is not merely a suggestion, this is absolutely required because of the chemicals used in this product. I didn’t realize this at first so I actually delayed starting the project until I could get a respirator.
Another key thing that surprised me- the prep takes a really long time. There are multiple steps including scraping any caulk off the sides of the tub, using steel wool across the whole surface, cleaning with a normal cleaner, rinsing with water, and cleaning with a special solution included in the kit. I found the steel wool step sooo tedious and it took forever because my arm kept getting sore. This was when I realized how big the tub unit was and briefly questioned my decision to take on this project. To get through all of the prep I actually did it in stages over about a week. And then I rested for a few days to get myself hyped for the actual application of the product.
The other main suggestion I have for you is to get more of the product than you think you will need. Worst case scenario you return any unopened kits you have when you are done with the project. For some reason I though a roll on and a spray on kit would be enough for the whole unit but I clearly miscalculated. I think this was in part because I had to do an additional coat or two beyond what the instructions indicated because you could still see some of the brown shading through in some sections where I didn’t go as heavy on the coat. The instructions suggest to do lighter coats and more of them rather than fewer heavy coats and I definitely agree with this. I think my tub may be darker than most and so it needed even more than normal. I think if you are just patching or refinishing a lighter colored surface you wouldn’t have this problem. But because the instructions clearly state that you have to do subsequent coats within 6 hours and if you go beyond that time you should “immediately contact technical service for removal instructions” you do not want to find yourself in a position where you run out of the product and cannot get more before your time window closes.

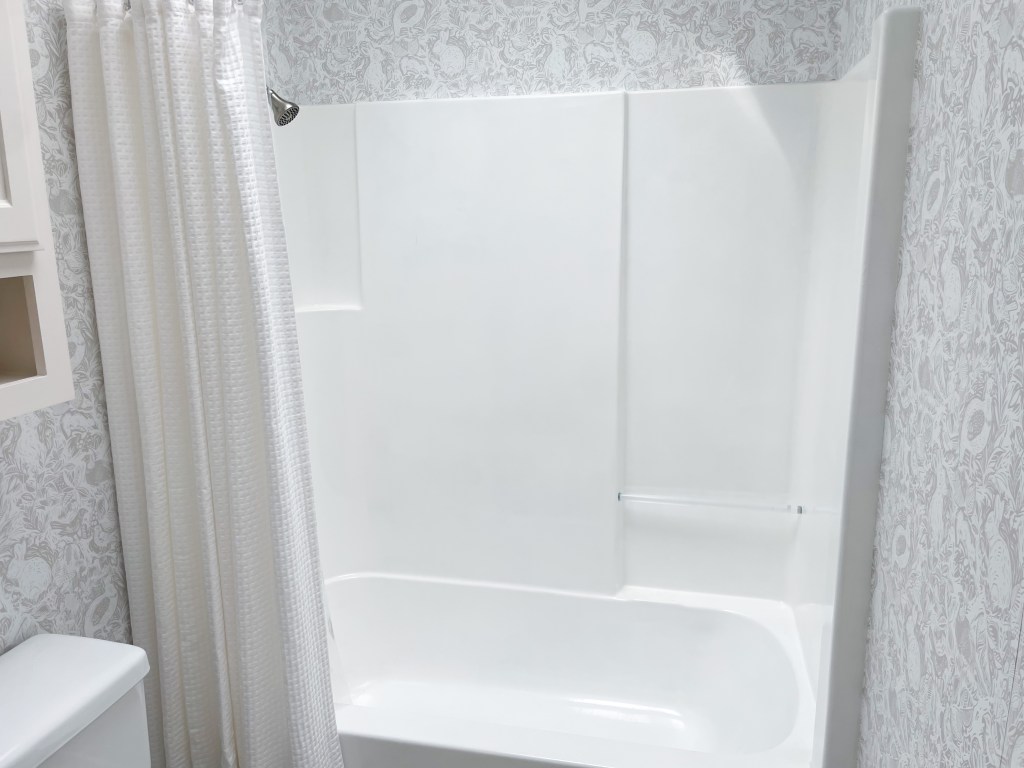
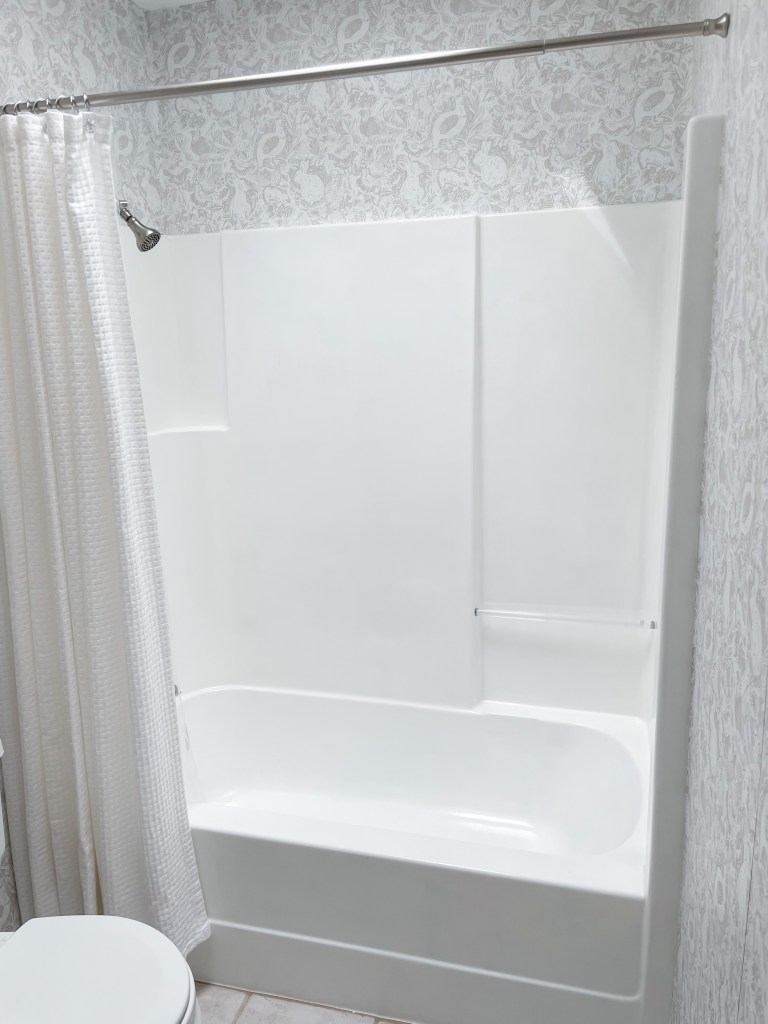
As for my review of the product – overall I love it! I did this project in January of 2023 and since then it’s been almost 5 months and we’ve had several weekend guests along with a lot of dog baths in this shower and it’s held up perfectly!
When it comes to the difficulty of the application- I would say that it is a little stressful, and is by no means a small project. But I do think most anyone could do it with the right preparation. For example, my tub looks so great and close to perfect from afar. And it does exactly what it needs- the finish is holding with no problems, it’s not peeling of or scraping, and it is a perfectly functioning tub. The imperfections come into view when you get up close and can see a few spots where there were drips in the paint. This mostly happened because when I ran out of the roll on product, I had to use the spray on some of the walls. Where I only rolled it is close to perfect, but when I was running out of product and got a little frenzied I rushed and did not clean up drips as well as I should have. I think if you exclusively roll on any upright surfaces and only spray on the inside of the tub, take your time, and do many light coats, you could get it looking perfect. I have never painted with a sprayer so it’s not something I have experience with and I underestimated how hard it is to get an even finish with zero drips.
So in summary- the only thing I would do differently if I were to do this again would be to have more product, roll anywhere I can and only spray on curved surfaces like the inside of the tub, and slow down and take my time with each coat. I would 100% do this again. It was definitely more work than buying a new tub but is was SO affordable and I feel like I learned a lot from doing it- which is my ultimate goal with everything I do in this house- learn a lot and save money wherever I can. We know we will only be in this house for 2 more years before we move across the country to be closer to family so I don’t want to pour a lot of money into the house but I do want to make it a place I love to live and am proud of, and also a place to improve my DIY skills.
Cost break down for this project:
– 2 Tough as Tile Brush On One Part Epoxy in White $50 each
– 1 Tough as Tile Aerosol in White $60
– 4 Paint Roller refills $10
– Respirator $40
Total = $210
The price for a brand new tub was closer to $500 so overall this was a very affordable project and is great if you want a cosmetic upgrade but don’t have a lot of extra money to put towards it.
I have several reels and highlights on IG that take you though the whole process of using the Tough as Tile and redoing this bathroom as a whole (I also painted the cabinets and put up peel and stick wallpaper) so if you are more of a visual learned definitely check them out. Find my IG here. And do not hesitate to ask me any questions! I know I learn so much by researching stuff like this online before I start a project so I want to be a resource to as many of you as possible as well so you can go into projects feeling confident!
You may also be interested in:
– Painting Cabinets Like a Pro – No Paint Sprayer Needed!

Leave a comment